Klassischer Southern Pineapple Custard Pie mit flockiger Butterkruste

Classic Southern Pineapple Custard Pie with Flaky Butter Crust

Servings

8

Prep Time

15 minutes

Cook Time

50 minutes

Calories

315

Cuisine

American

Category

Dessert

Pineapple pie is a throwback to cozy kitchens and handwritten recipe cards, often found in vintage Southern cookbooks. It’s a unique combination of tropical brightness and warm spice, baked into a tender crust and finished with a custard-like filling. 


While apple and cherry pies get all the glory, this overlooked gem delivers a sunny surprise with every bite.


Made with crushed pineapple, sugar, warm cinnamon, and just a hint of nutmeg, the filling is rich without being heavy. The cornstarch and eggs work together to set the pie into a firm, sliceable texture — ideal for make-ahead gatherings or simple weeknight desserts. 


You can enjoy it warm or cold, solo or topped with whipped cream, and it always disappears fast. If you love fruit pies and crave a twist, pineapple pie belongs on your dessert table.

Classic Southern Pineapple Custard Pie with Flaky Butter Crust

Ingredients

  • 1 unbaked 9-inch pie crust (homemade or store-bought)

  • 1 can (20 oz) crushed pineapple in juice, drained

  • 3/4 cup granulated sugar

  • 1/4 cup brown sugar

  • 1/4 cup cornstarch

  • 1/2 teaspoon salt

  • 1/2 teaspoon ground cinnamon

  • 1/4 teaspoon ground nutmeg

  • 2 large eggs, lightly beaten

  • 3 tablespoons unsalted butter, melted

  • 1 teaspoon vanilla extract

  • 1 tablespoon lemon juice

Directions

  1. Preheat oven to 375°F (190°C). Place the unbaked pie crust into a 9-inch pie dish and crimp the edges.

  2. In a large mixing bowl, combine drained pineapple, both sugars, cornstarch, salt, cinnamon, nutmeg, eggs, melted butter, vanilla, and lemon juice. Mix well until smooth and well blended.

  3. Pour the filling into the prepared pie crust and spread evenly.

  4. Bake for 45–50 minutes, or until the filling is set and the top is golden brown.

  5. Let the pie cool completely at room temperature to allow it to set.

  6. Serve chilled or at room temperature, with whipped cream if desired.

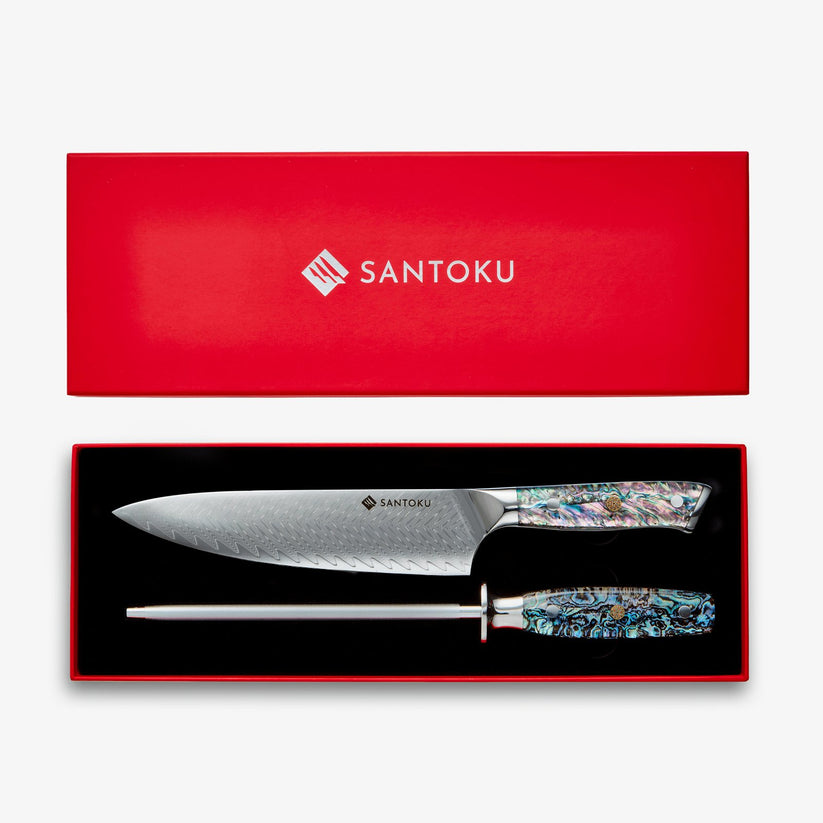
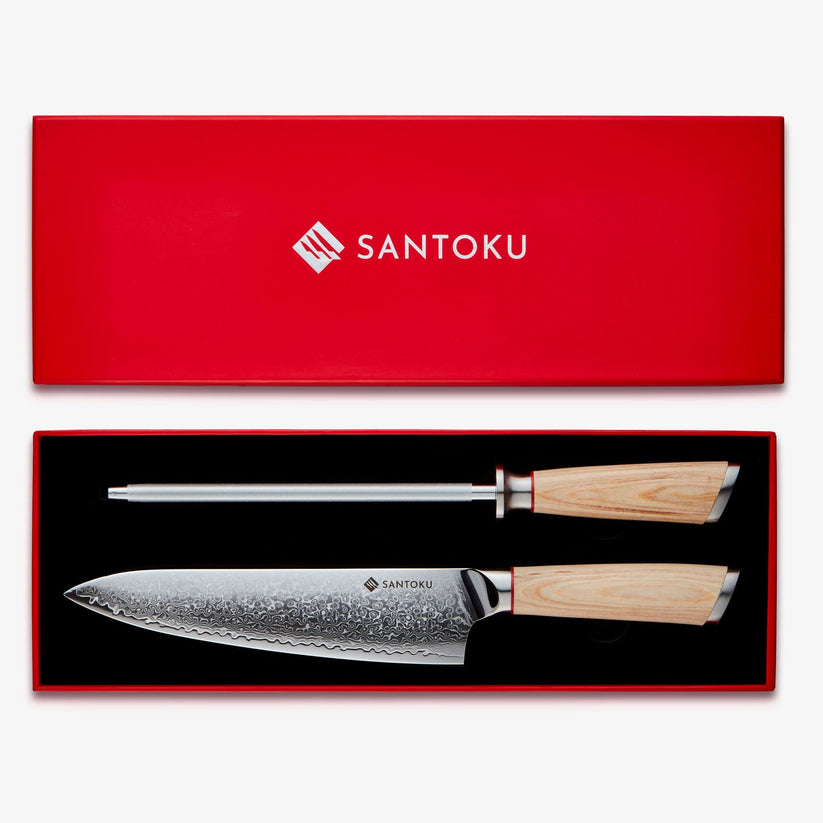
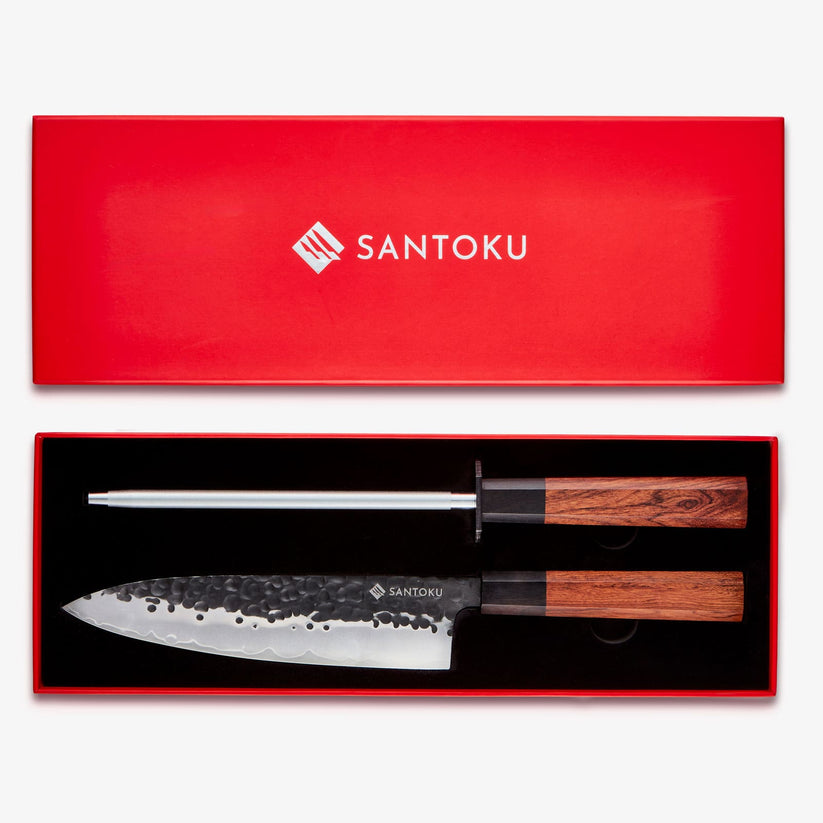
Upgrade Your Kitchen Tools

Make recipe prep easier with professional-grade knives

Browse Collection


10 Tipps für die Zubereitung dieses Gerichts

  1. Verwenden Sie zerkleinerte, in Saft verpackte Ananas, keinen Sirup.

  2. Lassen Sie die Ananas gründlich abtropfen, damit die Füllung nicht durchnässt wird.

  3. Mischen Sie die Füllung nicht zu stark, sondern rühren Sie, bis sie glatt ist.

  4. Für eine gleichmäßige Bräunung verwenden Sie eine Kuchenform aus Glas.

  5. Wenn Sie einen festeren Boden bevorzugen, backen Sie die Kruste leicht vor.

  6. Lassen Sie den Kuchen vollständig abkühlen, bevor Sie ihn anschneiden.

  7. Für die beste Konsistenz über Nacht kalt stellen.

  8. Fügen Sie für zusätzliche Tiefe eine Prise Kardamom hinzu.

  9. Mit Schlagsahne oder Vanilleeis servieren.

  10. Bewahren Sie Reste abgedeckt im Kühlschrank bis zu 3 Tage auf.


Servieren Sie es mit Vorschlägen

  • Frische Schlagsahne oder Kokosnuss-Schlagsahne

  • Vanilleeis

  • Geschnittene Erdbeeren oder Mango

  • Heißer Kaffee oder Eistee

  • Obenauf geröstete Kokosraspeln


FAQs

F: Kann ich statt Dosenananas auch frische Ananas verwenden?
A: Ja, aber stellen Sie sicher, dass Sie es fein zerkleinern und gut abtropfen lassen, damit es der Konsistenz und dem Feuchtigkeitsgehalt entspricht.

F: Kann ich diesen Kuchen im Voraus zubereiten?
A: Absolut. Am besten wird es einen Tag im Voraus zubereitet und bis zum Servieren im Kühlschrank aufbewahrt.

F: Soll Ananaskuchen warm oder kalt serviert werden?
A: Beides funktioniert – warm für Komfort, kalt für eine festere Scheibe.

F: Kann ich es milchfrei machen?
A: Ja, ersetzen Sie pflanzliche Butter und eine milchfreie Krustenoption.

F: Woher weiß ich, dass der Kuchen fertig ist?
A: Die Mitte sollte bei leichtem Wackeln und einer sauberen Zahnstocherprobe fest sein.

Chef's Recommendation

"A sharp knife is your best friend in the kitchen. For recipes like this, I always reach for my Chikashi chef knife - it gives me the control and precision I need for perfect results every time."
Chef's Note: A sharp knife not only makes prep work faster but also safer - dull knives require more pressure and are more likely to slip.

Discover why our Japanese-style knife sets are trusted by home cooks and professionals alike.

Shop Professional Knives →
Zurück zum Blog